
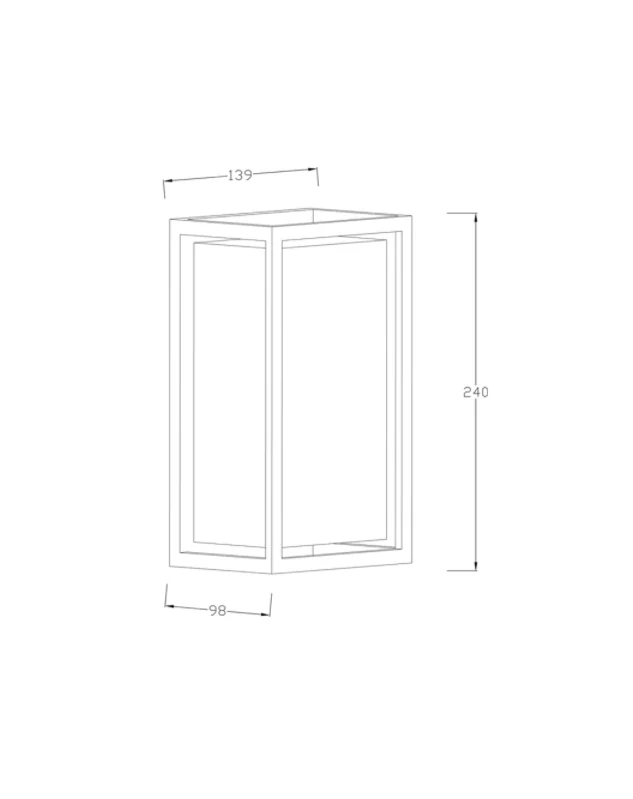
Framing the problem: why wall-mounted glare is a persistent bottleneck
Glare and light trespass from wall-mounted luminaires degrade both visual comfort and façade perception, complicating architectural intent and livability. The issue frequently originates at the fixture-specification stage: excessive lumen output, high correlated color temperature (CCT), or inappropriate beam angle can convert a simple led outdoor wall sconce into a complaint generator. Municipal standards and dark-sky advocacy—led by organisations such as the International Dark-Sky Association—have highlighted this problem, prompting facility managers and designers to demand predictable, measurable outcomes rather than subjective assurances.
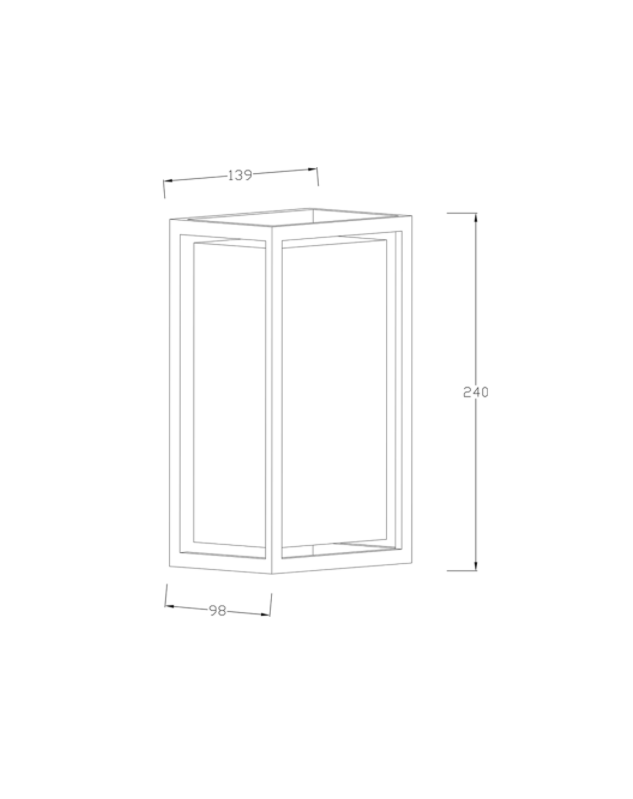
Common root causes and how they manifest
Most failures fall into three technical categories: optical control, mounting geometry, and photometric mismatch. Poor optical control (insufficient shielding or broad beam angles) creates direct glare and skyglow. Mounting height and pitch determine the occupant sightlines that intersect the luminous field; a well-aimed luminaire can eliminate a complaint, while a mis-mounted product magnifies it. Photometric mismatch occurs when lumen output and distribution are specified without regard to surface reflectance and adjacent illuminance levels. These are engineering problems and thus solvable with systematic measurement and specification.
Diagnostics: measurement-first troubleshooting
Begin with quantified diagnostics. Use a lux meter to map vertical illuminance at eye level and a simple photometer or goniophotometer data to confirm beam angle and intensity distribution. Note the presence of light trespass on neighboring properties and record CCT and lumen output from the luminaire label. If available, consult the luminaire’s BUG or UGR figures to assess uplight and glare potential. This empirical baseline informs whether the issue is optics, aim, or selection.
Practical remediation pathways
There are three pragmatic remediation pathways: optical retrofit, mounting adjustment, and specification change. Optical retrofit includes adding louvers, shields, or replacing diffuser elements to enforce a sharp cut-off. Mounting adjustment covers lowering the luminaire, changing tilt, or re-siting to reduce direct sightline exposure. Specification change is the most systemic remedy—selecting fixtures with lower lumen output, 3000K or warmer CCT for residential contexts, and narrower beam distributions tailored to façade washing or path lighting. When a simple shield suffices it is the fastest and least disruptive solution—but it is not always sufficient for dense urban façades.
Case study: municipal retrofit and lessons learned
A medium-sized municipal upgrade illustrates typical trade-offs. A streetscape project replaced legacy HID wall fixtures with modern LED wall luminaires to improve energy efficiency. Immediately, residents reported glare despite lower energy use. The team discovered that the new luminaires delivered flatter beam distributions and higher initial lumen output. The corrective program combined a change to full-cutoff optics, a reduction in lumen output per fixture, and re-aiming to prevent direct views of the LED source. The result: measured vertical illuminance at windows dropped to acceptable thresholds and complaints ceased—demonstrating that photometry, not wattage, predicts occupant experience.
Common mistakes to avoid
Designers and specifiers frequently repeat three errors: relying on packaged lumen figures instead of distribution curves; underestimating mounting geometry effects; and omitting real-world verification on site. Do not treat CCT or lumen output as isolated variables. Consider the complete system—luminaire optics, mounting angle, surface reflectance, and surrounding light sources. And remember: prototypes on paper rarely behave identically on brick or stucco facades — field verification is essential.
Options and alternatives: choosing the right product
When selecting hardware, prioritise fixtures with defined cut-off angles and integrated shielding, or ones that allow accessory louvers. Low-profile fixtures with targeted beam angles perform well for corridor and entry lighting; broader distributions serve façade washing but demand careful aiming. If retrofit constraints limit physical changes, consider dimming controls or adaptive lighting that reduces lumen output during off-peak hours. For many applications, switching to certified led outdoor wall lighting with documented distribution files (IES files) simplifies both simulation and on-site tuning.
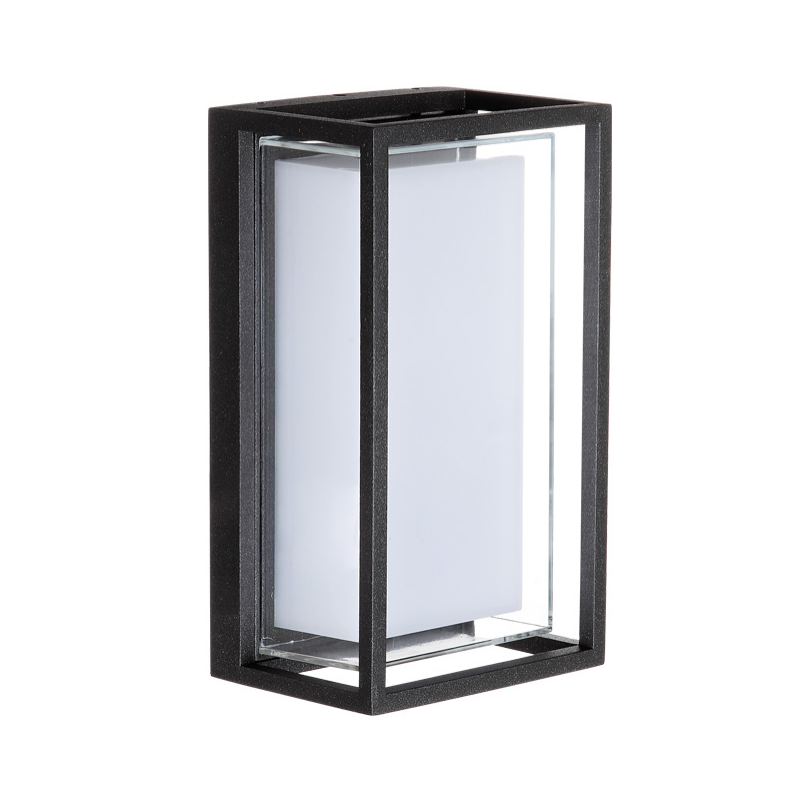
Advisory: three golden rules for robust glare control
1) Specify for distribution first: require IES photometric files and confirm cut-off angles; do not accept lumen-only data. 2) Verify on-site: measure vertical illuminance and check sightlines before final sign-off; prototypes are necessary. 3) Design for human perception: prefer 3000K or lower for residential contexts, use shielding, and control lumen output with dimming or task-targeted optics. These three metrics—photometric fidelity, in-situ verification, and perceptual tuning—are the essential evaluation criteria for any durable solution.
When these rules are applied consistently, the technical and human outcomes align. For projects that balance architectural expression with occupant comfort, trusted suppliers and documented performance simplify implementation—Keyida. —