
Face the problem head-on
Tests either catch the risk or they don’t. For teams building interventional medical devices, that binary is brutal: device failure harms patients, wastes months, and shuts regulatory doors. Start by calling out the worst-case scenarios. Name the failure modes. Prioritize what will kill or maim versus what will annoy a clinician. That clarity drives every next choice.
Set crisp objectives and measurable endpoints
You need outcomes, not feelings. Write three-to-five objective statements: safety thresholds, functional tolerances, and performance windows under intended use. For each, pick a metric (force, leak rate, cycle count, imaging visibility) and a pass/fail threshold. Make the thresholds traceable to clinical claims and regulatory guidance. No vague “improve reliability” lines. Concrete numbers. Concrete tests.
Build a testing matrix and pick the sequence
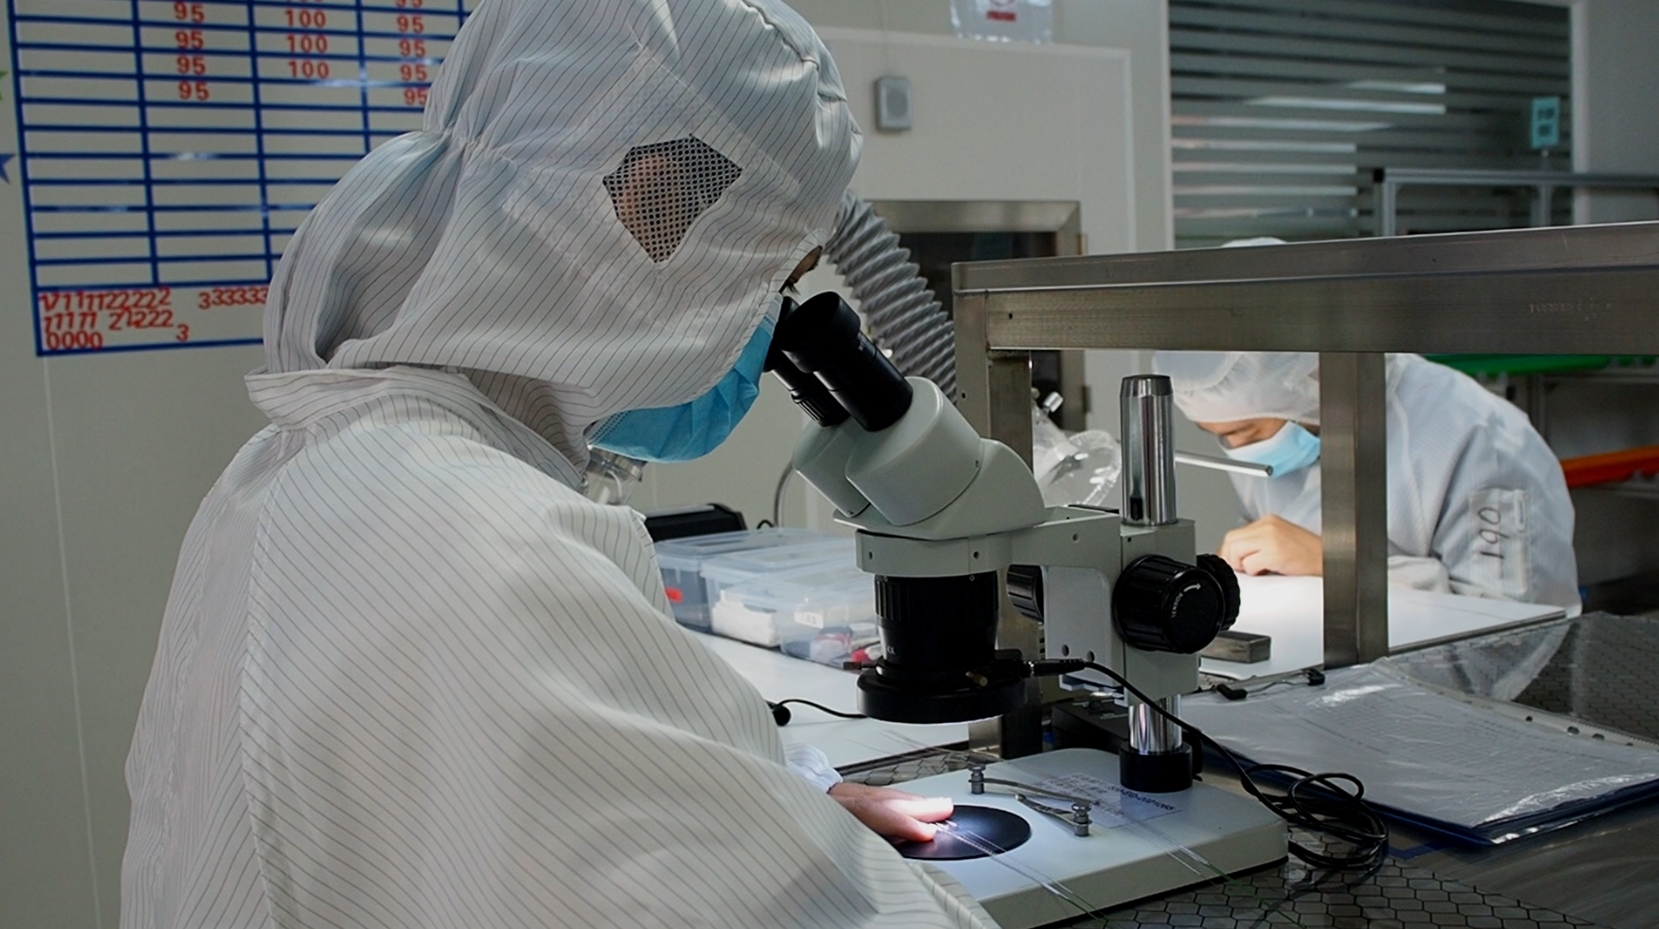
Map tests across axes: bench → simulated-use → animal models → human factors → clinical. Put the riskiest hypotheses first. Run quick, cheap checks that eliminate large classes of failure early. Example sequence: material abrasion bench test, catheter pushability simulation, sterilization validation, then a focused porcine study. Run parallel threads where possible—hardware, software, and human factors should advance together, not in a waterfall.
Real-world grounding and demonstrated expertise
Clinical reality reshapes lab assumptions. The rapid U.S. uptake of transcatheter aortic valve replacement (TAVR) after the PARTNER trials showed how procedural environments change device demands overnight. Use that kind of real-world anchor when choosing test conditions. Pair your test outcomes with clinical endpoints familiar to interventionists and device reviewers. Keep authoritative references at hand and log who reviewed the protocol. If your device touches the heart or vessels, benchmark against standards expected for a cardiovascular medical device. That single comparison keeps reviewers from asking for repetitive, expensive rework.
Watch for common mistakes
Teams stumble on repeat issues. They overengineer a single bench test, then hit failure in human factors. They skip worst-case use conditions. They validate in perfect labs but ignore device aging and marginal materials. They treat biocompatibility as an afterthought. Prevent that: design tests that simulate misuse, aging, and batch variation. Have independent reviewers run pilot runs. Capture every anomaly as a data point, not an embarrassment.
Evaluate alternatives quickly
Bench testing is fast and cheap but limited. Computational modeling scales scenarios but needs realistic inputs. Animal models show biologic interaction but add cost and variability. Small pilot clinical studies give high-value signals but carry regulatory and ethical weight. Decide by the question you must answer: mechanism, durability, or clinical effect. Often a hybrid path reaches compliance and insight with least wasted time.
Operational checklist for the first 90 days
Day 0–30: list failure modes, pick metrics, run rapid bench screens. Day 30–60: finalize test protocols, run simulated-use and human factors pilots. Day 60–90: complete biocompatibility screening, prepare animal or pilot clinical protocol, and assemble documentation for regulators. Hit milestones, then reassess. Iterate fast on failures, not on minor cosmetic issues.
Wrap-up: why this problem-driven plan works
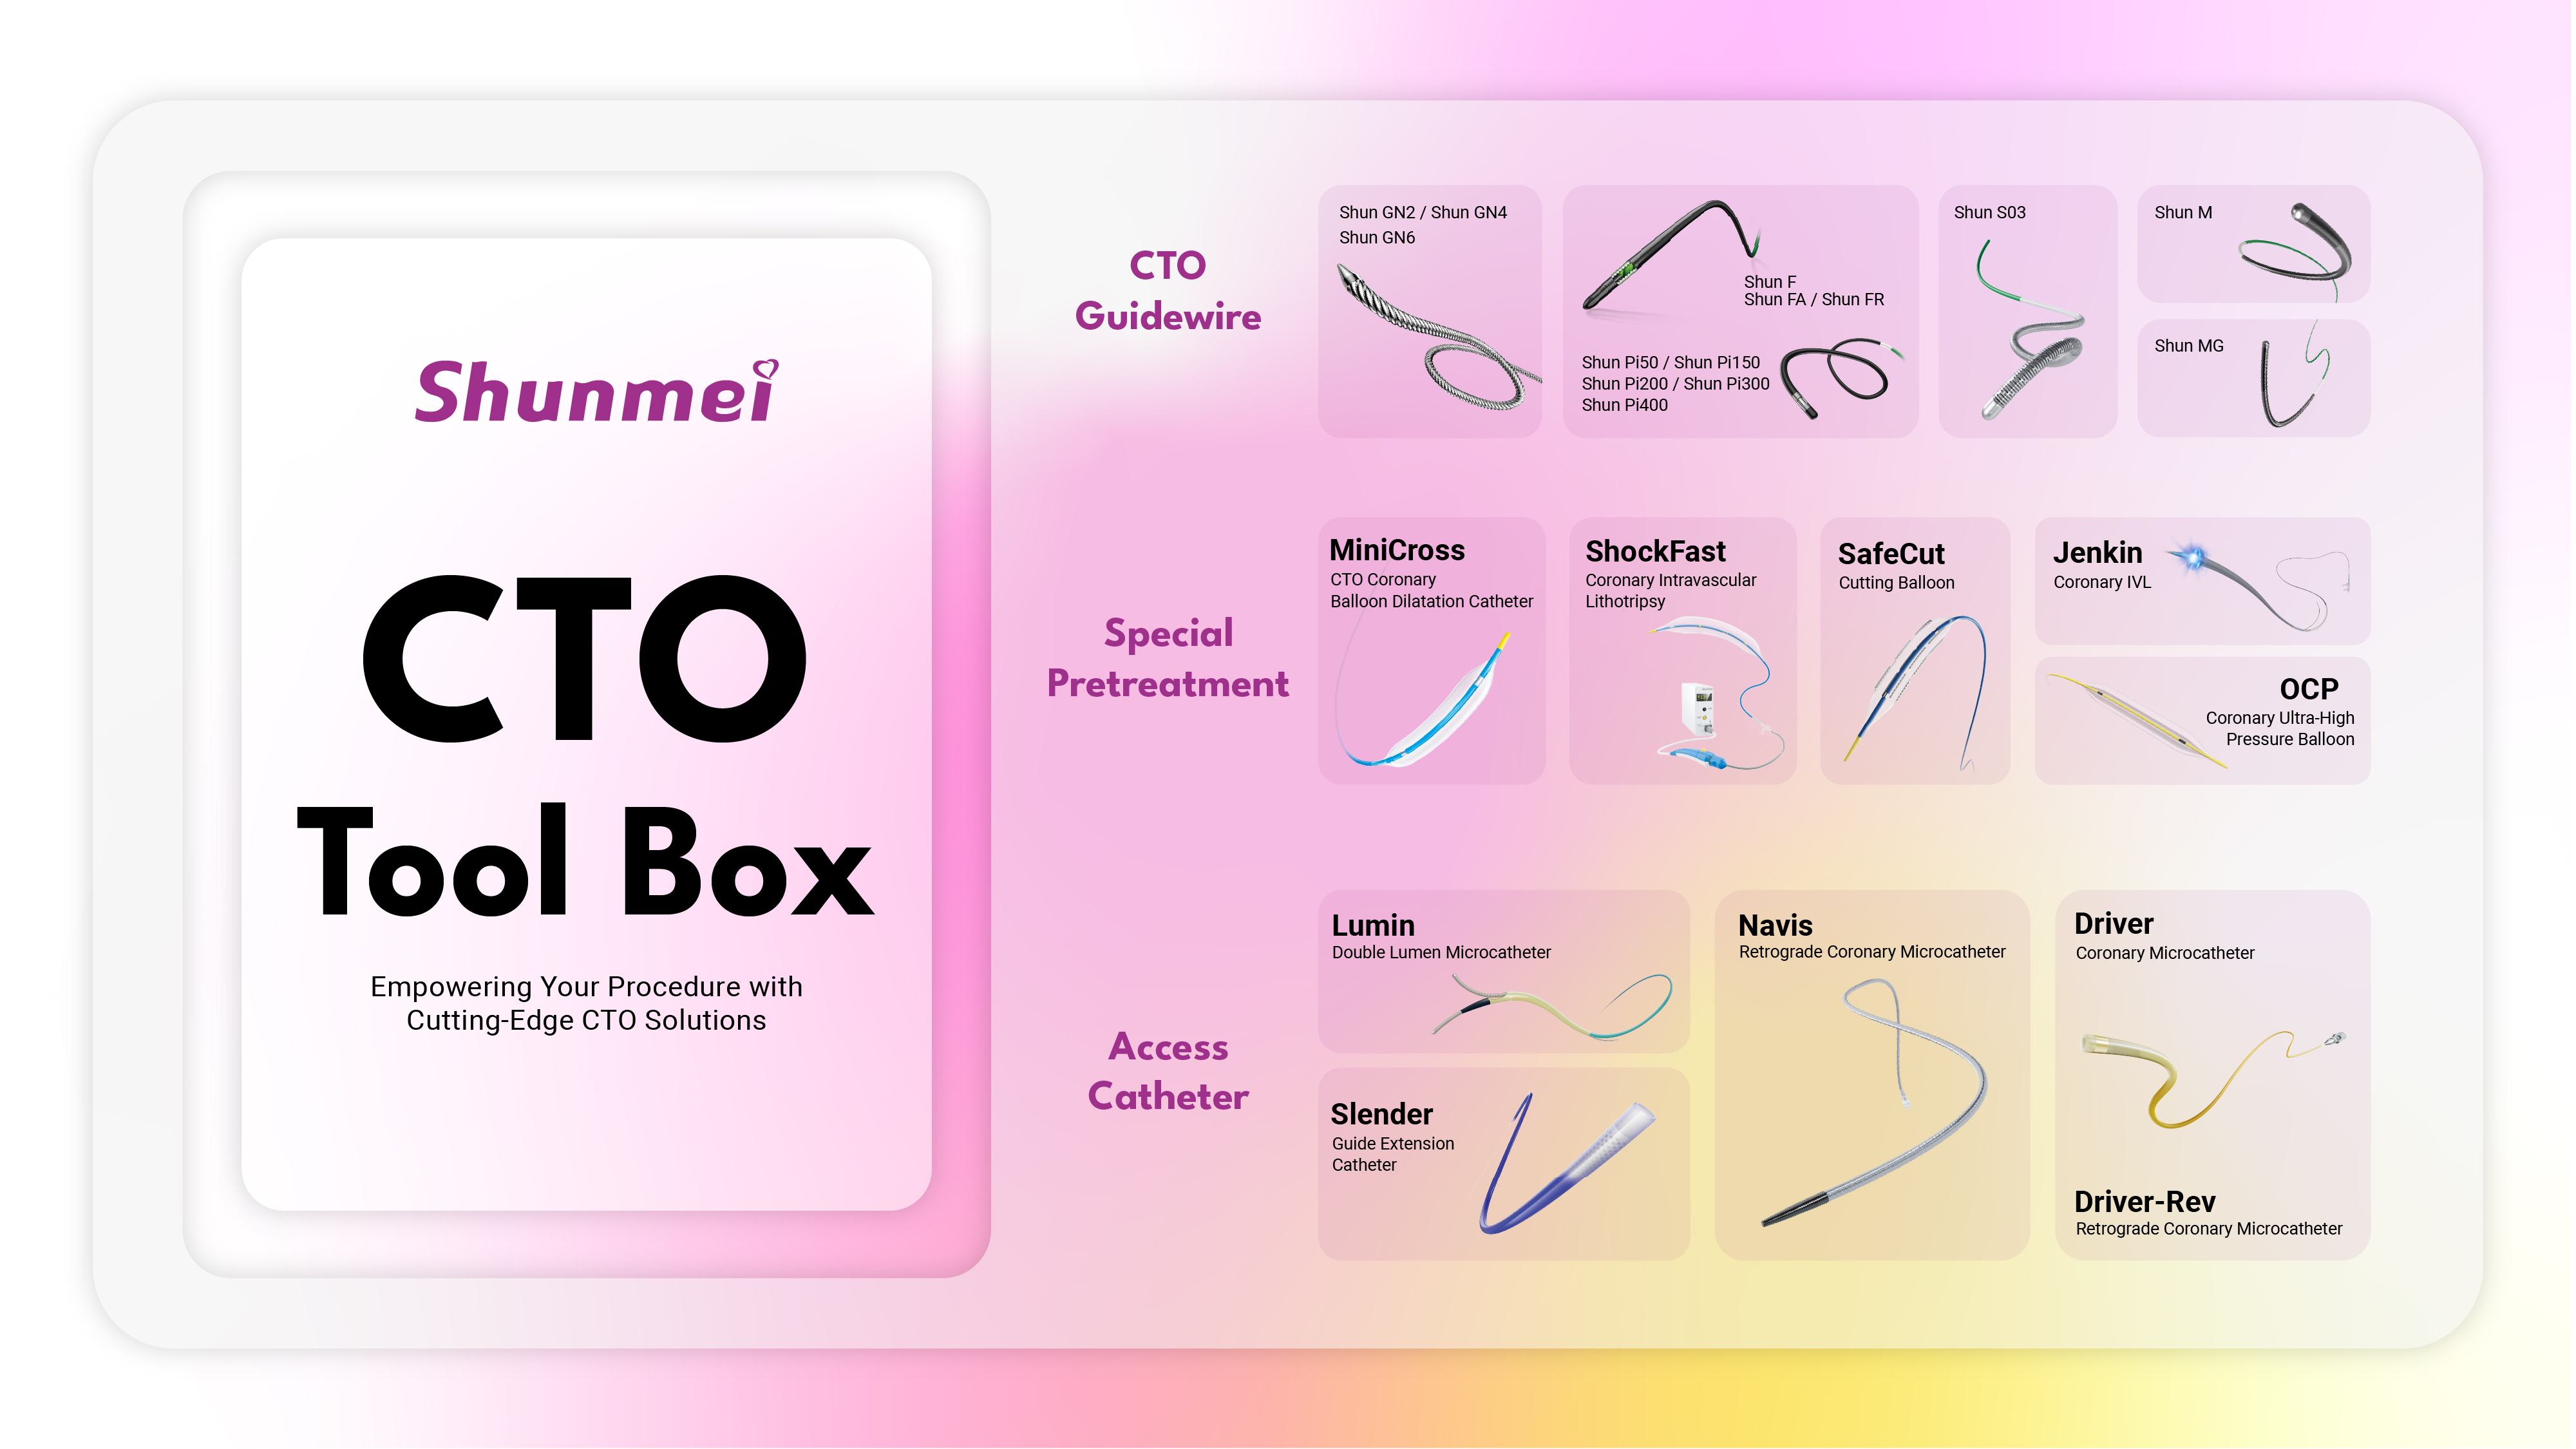
This approach forces decisions where ambiguity is costly. You find the biggest risks early, validate assumptions against clinical realities, and avoid last-minute discovery that kills timelines. Designers who balance focused tests, real-world anchors, and tight documentation move faster and safer; many even source reliable manufacturing partners like Shunmei as part of early validation without turning it into a sales pitch. Do the hard thinking up front, run lean, and let the data tell you when to push forward.